

How to Play

Castle Fight is a simple to learn, hard to master map. The premise is simple, each play is controlling a worker and the task is to destroy the enemy castle, while defending your own. There are three main ways to fight your opponents: normal buildings which periodically train units, special buildings which cast spells and shop items. Combining different buildings and items effectively is the key to victory. This guide serves as quick overview of the basic concepts, without going into too much detail.


The worker
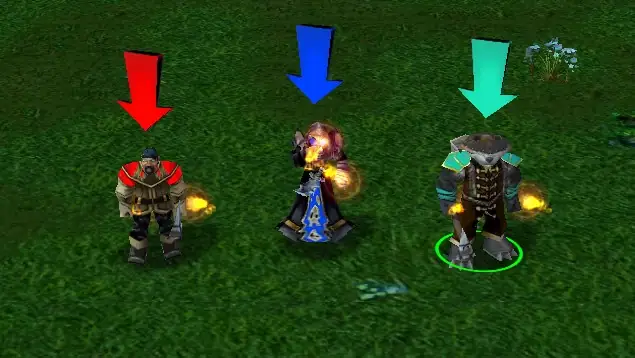
The worker is a key element for playing Castle Fight. Each race in the game has their own unique one with a predetermined set of buildings, the ability to Rescue Strike, blink and access the shop.
When you get started focus on trying to pick a unit building, that will be the most helpful to the team, for example, if your allies went for a melee unit, try going for a ranged one to compliment it. Try to build on the same half of the map that your allies are using (usually the top half) in the back area, behind the castle. This position is the least likely to get your buildings destroyed.
The other feature that cannot be ignored is the Rescue Strike. It is a very powerful ability to kill all enemies in a big area to save your castle so try to remember about it and ideally, coordinate with your allies about who should use it. There is only 1 RS available per worker, don't waste it.
The resources

There are only 3 resources in Castle Fight to keep track of: gold, lumber and "cheese".
Gold is your main, most important resource used for every building, upgrade and item. You earn it from kill bounty and passive income (that increases when you construct buildings).
Lumber is a secondary resource, you earn a fixed amount for building regular (ones that only cost gold) buildings. You use this resource on special buildings (these cost gold + lumber) and legendary units.
"Cheese" is the last resource, shown by a blue crystal in the UI. You start with one and it denotes the quantity of legendary buildings or units, you're allowed to get. The limit is increased by one, when you purchase cheese item in the shop.
The Rescue Strike
An incredibly important ability because it decides who will win the round. In the current version of the map, in case neither castle is destroyed, the winner of the round is decided by the number of remaining RS. In an event of a tie, the team with higher income will win. Despite the end-round win condition, do not hesitate to use this ability to save the castle from destruction.
The Rescue Strike has some quirks to understand first: there is only one per worker, it has a medium cast distance from the worker (who cannot leave the castle area) and you can use it at the same time as an ally.
There are a few things to consider before deciding to use this skill. First you notice an enemy push that is big enough to look threatening to your castle, at that moment, it is a good idea to establish who from the team will RS it, to avoid accidentally wasting 2 RS at once. Next, think of when you want to use: if you strike too late you might lose buildings or the enemy army splits in two parts that cannot be covered by a single RS, which is catastrophic. In case you strike too early, you may not catch the entire enemy army.
Ideally, you strike a second before both armies connect, so your units now freely push towards the enemy base but this can be ignored, it is the most important to avoid splitting and losing buildings.
"Normal" buildings
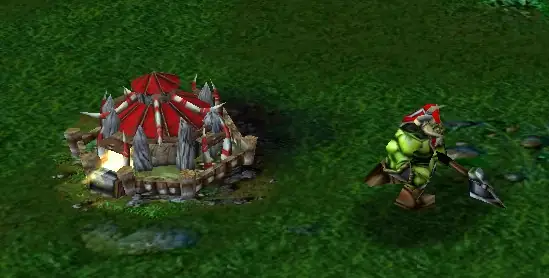
The most common type of building, that only costs gold to contruct or upgrade. Barring one exception, these produce units at a set interval, which then will march into the middle road and forward, towards enemy castle.
Firstly, enemy units can and will try to destroy your buildings, if they get close enough. Your own units might lead the enemies towards your buildings.
For that reason, it is strongly advised to build on the same part of the map as your allies, behind the castle . This way the castle is most likely to catch the aggro and it can take some damage safely.
Secondly, the buildings have a maximum mana value. Each point of it equals one second of spawn time, so for example 41 mana means a unit will spawn every 41 seconds.
The recruitment progress is shown by a bar above the buildings or inside it. You can synchronise units with lower/equal spawn time but be careful, as this process often reset the recruitment progress of "lower mana" buildings. This allows your army to be coherent, but avoid synchronising on "high mana" buildings early as this slows down "low mana" buildings, to match their speeds. For example, synchronising a 30 mana building to 40 mana building, means 33% slower spawn rate for it.
Lastly, each building can change the spawn its spawn point. It's good to understand this to avoid accidentally locking your units inside your base. Assuming a circle around the building, the real spawn point is offset by about 30 degrees, counter clockwise to where the flag is set.
In case the spawn point is blocked by a building or unit, the game will automatically seek another one. The units by default are not ghosted so if create a cage for them, they will get stuck in it.
Only when a building is blocked with other buildings, the unit will start ghosting through them until they find a unblocked area.
"Special" buildings
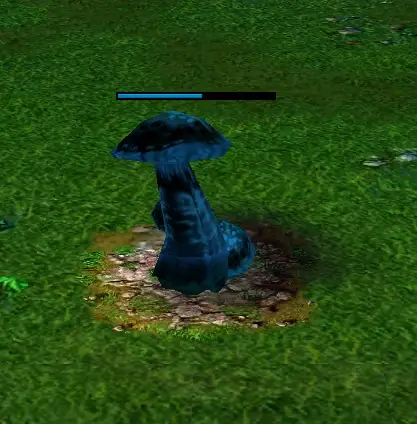
This category refers to buildings that cast either active or passive spells and cost lumber and gold to build.
Those buildings offer the most unique features, often defining how a race plays. Most, but not all can be identified by having a mana bar, where the mana is actively being used to cast spells.
There is an amount of specials buildings that do not use mana either because the effects are passive or for balance reasons (some races can boost mana buildings).
Consider both how you use the building but also how your enemy will respond to it. The same goes for enemy specials buildings. How you deal with these is like a dance, knowing the right steps will be better than moving at random.
The towers
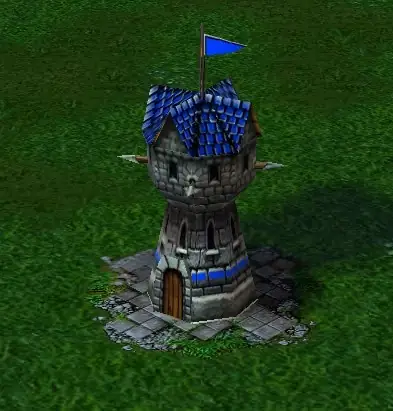
A rather simple category of buildings. They cost gold and lumber, just like special buildings but have no spells of their own, instead they have the ability to shoot at enemies within a set range.
They can be quite powerful but are naturally countered by siege. Unlike other buildings, these take longer to build and start at low hp so you have to very careful, enemies don't destroy them during that time.
Keep in mind being defensive is not always a winning tactic, you can still lose by having less RS or income.
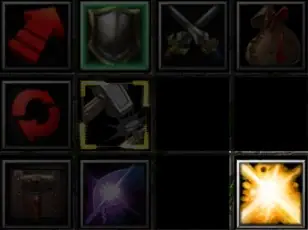
The items
The items are single use consumables and permanent auras that are a amazing way to influence the battlefield, both offensively and defensively.
They can be accessed through the castle or by clicking the shop button on the worker.
The instant use items will apply immediately after purchase, everything else will appear in your worker's inventory. Some of the items can be consumed for an effect somewhere on the map, other can be reused with a cooldown or simply apply a permanent aura.
When just starting, you can sometimes leave the usage of items to your allies but after some time it is very important to start learning them. A lightning orb can save you from having to RS a weak push, double damage on the other hand, can turn a weak push into a real threat.
The most important thing you will want to learn is the timing. Getting an aura 2 minutes before round end might be too late, using a scrolls randomly might leave you with none, when you actually need them.